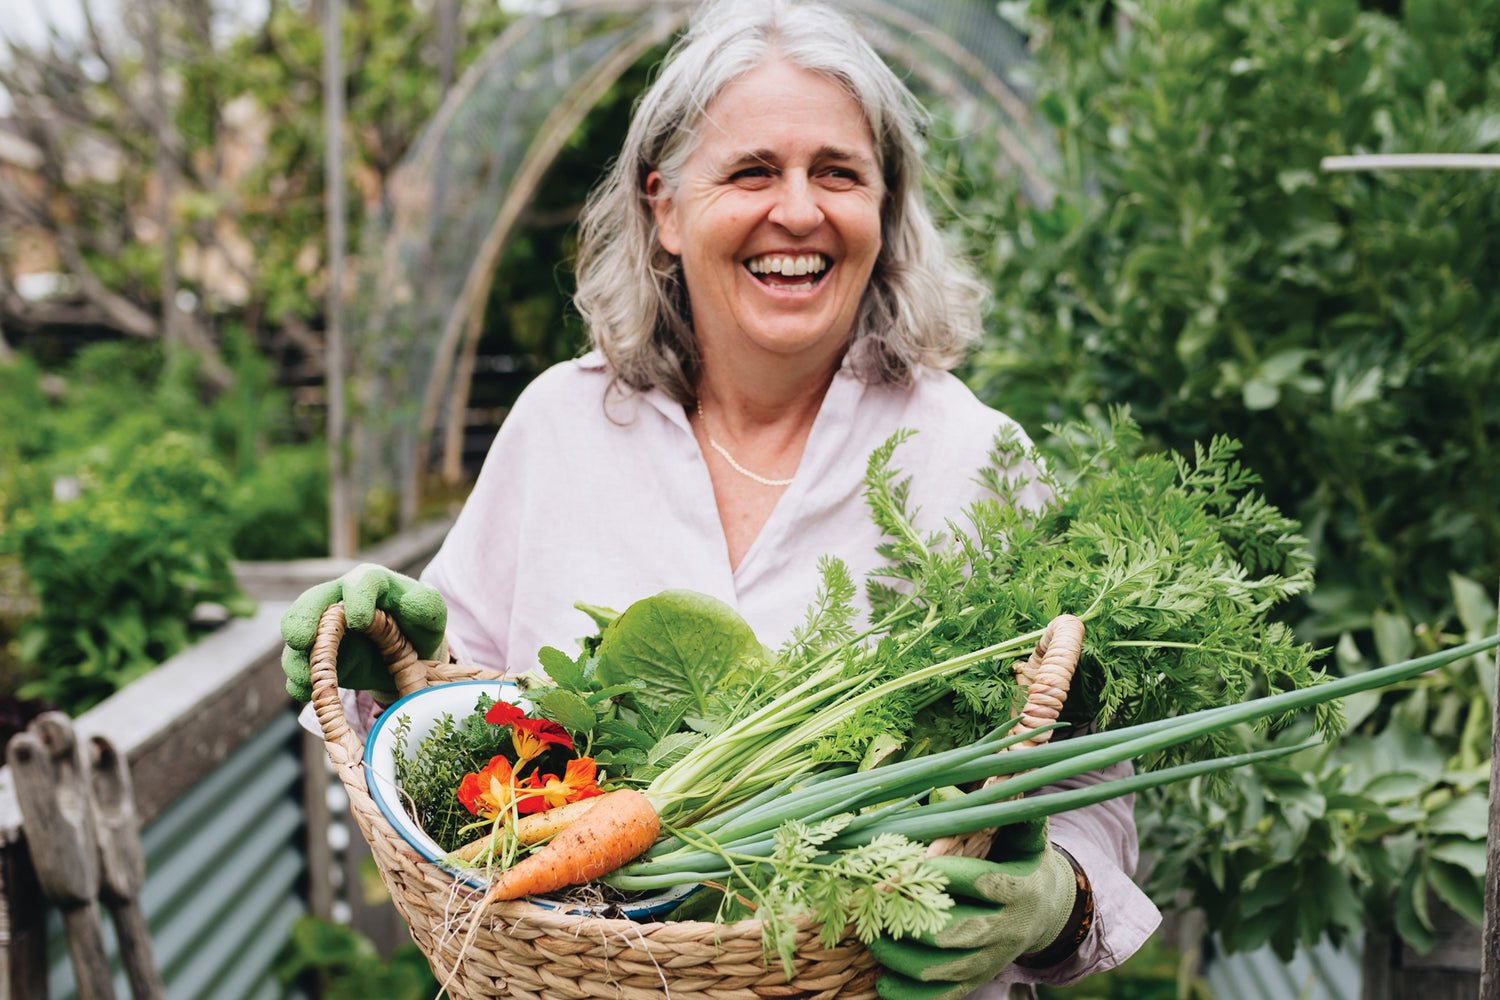
There’s something uniquely satisfying about walking into your garden and snipping a handful of fresh blooms to bring indoors. Whether it’s a vibrant bunch of zinnias in the summer or delicate ranunculus in the spring, a cut flower garden brings both beauty and bounty to your home. The good news? You don’t need acres of land or years of experience to create one. With a bit of planning, the right tools, and some gardening enthusiasm, you can grow a cut flower garden that keeps your vases full and your spirits high.
In this guide, we’ll walk you through everything you need to know to grow your own cut flower garden — from selecting the best flowers to caring for your blooms and harvesting them at the perfect time. Let’s get growing!
Why Grow a Cut Flower Garden?
Cut flower gardens are not only beautiful but also practical. They allow you to:
- Enjoy fresh flowers indoors all season long.
- Reduce your reliance on imported blooms (a win for sustainability).
- Save money in the long run compared to buying store-bought bouquets.
- Attract pollinators like bees and butterflies to your garden.
- Experience the joy and therapeutic benefits of flower gardening.

Step 1: Plan Your Garden Space
You don’t need a huge yard to grow cut flowers — even a few raised beds or containers can do the trick. When planning your space, keep the following in mind:
- Sunlight: Most cut flowers thrive in full sun (6–8 hours per day).
- Soil: Well-draining, nutrient-rich soil is essential. You can amend poor soil with compost or organic matter. To learn more about how to achieve the perfect soil check out our Ultimate Guide to Soil Types.
- Water Access: You’ll need to water consistently, especially during dry spells.
- Accessibility: Make sure you can easily reach all parts of your cut flower garden for watering, weeding, and harvesting.
A well-designed garden layout can be as simple as rows, blocks, or raised beds. Leave enough space between plants and paths for airflow and access.
Step 2: Choose Flowers for Continuous Blooms
For a thriving cut flower garden, aim to select a mix of flowers that bloom at different times throughout the growing season — from early spring through late fall. This way, you’ll have a steady stream of flowers to cut and enjoy for months on end.
Below is a seasonal guide to help you plan your garden by bloom time (not necessarily when to plant):
Early Bloomers (Spring) – Plant in fall or late winter, depending on your climate
- Tulips – Classic spring bulb; plant in fall for early spring color.
- Ranunculus – Cool-season favorite; plant in late winter or early spring in mild climates.
- Anemones – Another cool-weather star; plant alongside ranunculus.
- Sweet Peas – Sow in late winter for fragrant early spring blooms.
- Snapdragons – Can be started indoors early and transplanted once frost danger passes.
Mid-Season Stars (Summer) – Sow in spring after last frost
- Zinnias – Fast-growing and endlessly colorful; a cutting garden staple.
- Cosmos – Light and airy; easy to grow from seed and blooms all summer.
- Sunflowers – Great focal flowers; stagger planting every 2–3 weeks for a longer season.
- Dahlias – Plant tubers in spring after frost; bloom mid-to-late summer.
- Marigolds – Bold and pest-resistant with long bloom times.
Filler & Foliage – Grow throughout the season to complement your bouquets
- Ammi (False Queen Anne’s Lace) – Lacy filler with a vintage vibe.
- Feverfew – Dainty, daisy-like blooms that pair well with everything.
- Dusty Miller – Silvery foliage that adds contrast and texture.
- Flowering Basil (‘Aromatto’ or ‘Cinnamon’) – Fragrant, beautiful, and multipurpose.
- Eucalyptus (in warm climates) – Evergreen scent and elegant structure.
Choose a mix of focal flowers, fillers, and foliage that suit your taste and bloom at different times. For the best vase life and stem length, look for varieties specifically labeled as “cut flower” types when purchasing seeds or starts.

Step 3: Start From Seed or Seedlings
Some flowers like zinnias and sunflowers are easy to direct-sow into the garden after the last frost. Others, such as snapdragons or ranunculus, do better started indoors or purchased as young plants.
If you’re starting seeds indoors:
- Use seed trays and high-quality potting mix.
- Provide plenty of light (a sunny windowsill or grow lights).
- Harden off seedlings before transplanting them outdoors.
For quick success, consider buying plugs or seedlings from a local nursery — especially for longer-season flowers like dahlias or lisianthus.
Step 4: Planting & Spacing
Follow spacing guidelines on seed packets or plant labels. Overcrowding can lead to poor air circulation, disease, and spindly growth.
To keep your flower harvest going strong all season, consider using succession planting. This technique involves sowing seeds of the same variety at intervals — typically every 2 to 3 weeks — rather than planting them all at once. Succession planting ensures you always have fresh blooms coming in as older plants begin to fade. It works especially well for quick-growing, repeat-blooming annuals like cosmos, zinnias, sunflowers, and marigolds, which can mature and bloom within just a few weeks. By staggering your plantings, you’ll avoid a single flush of blooms followed by a lull, and instead enjoy a steady supply of flowers throughout the growing season. This method is especially helpful for cut flower growers who want to maintain a consistent vase-ready selection from early summer into fall.

After planting your first round of seeds or seedlings, add a layer of mulch to help retain soil moisture, suppress weeds, and regulate temperature. Organic mulches like straw, bark chips, or shredded leaves work well and also improve soil quality over time. When using succession planting, simply push the mulch aside to make room for new seeds, and once the seedlings are established, pull the mulch back around them. This approach keeps your beds tidy and productive while reducing maintenance throughout the season.
Step 5: Watering and Fertilizing
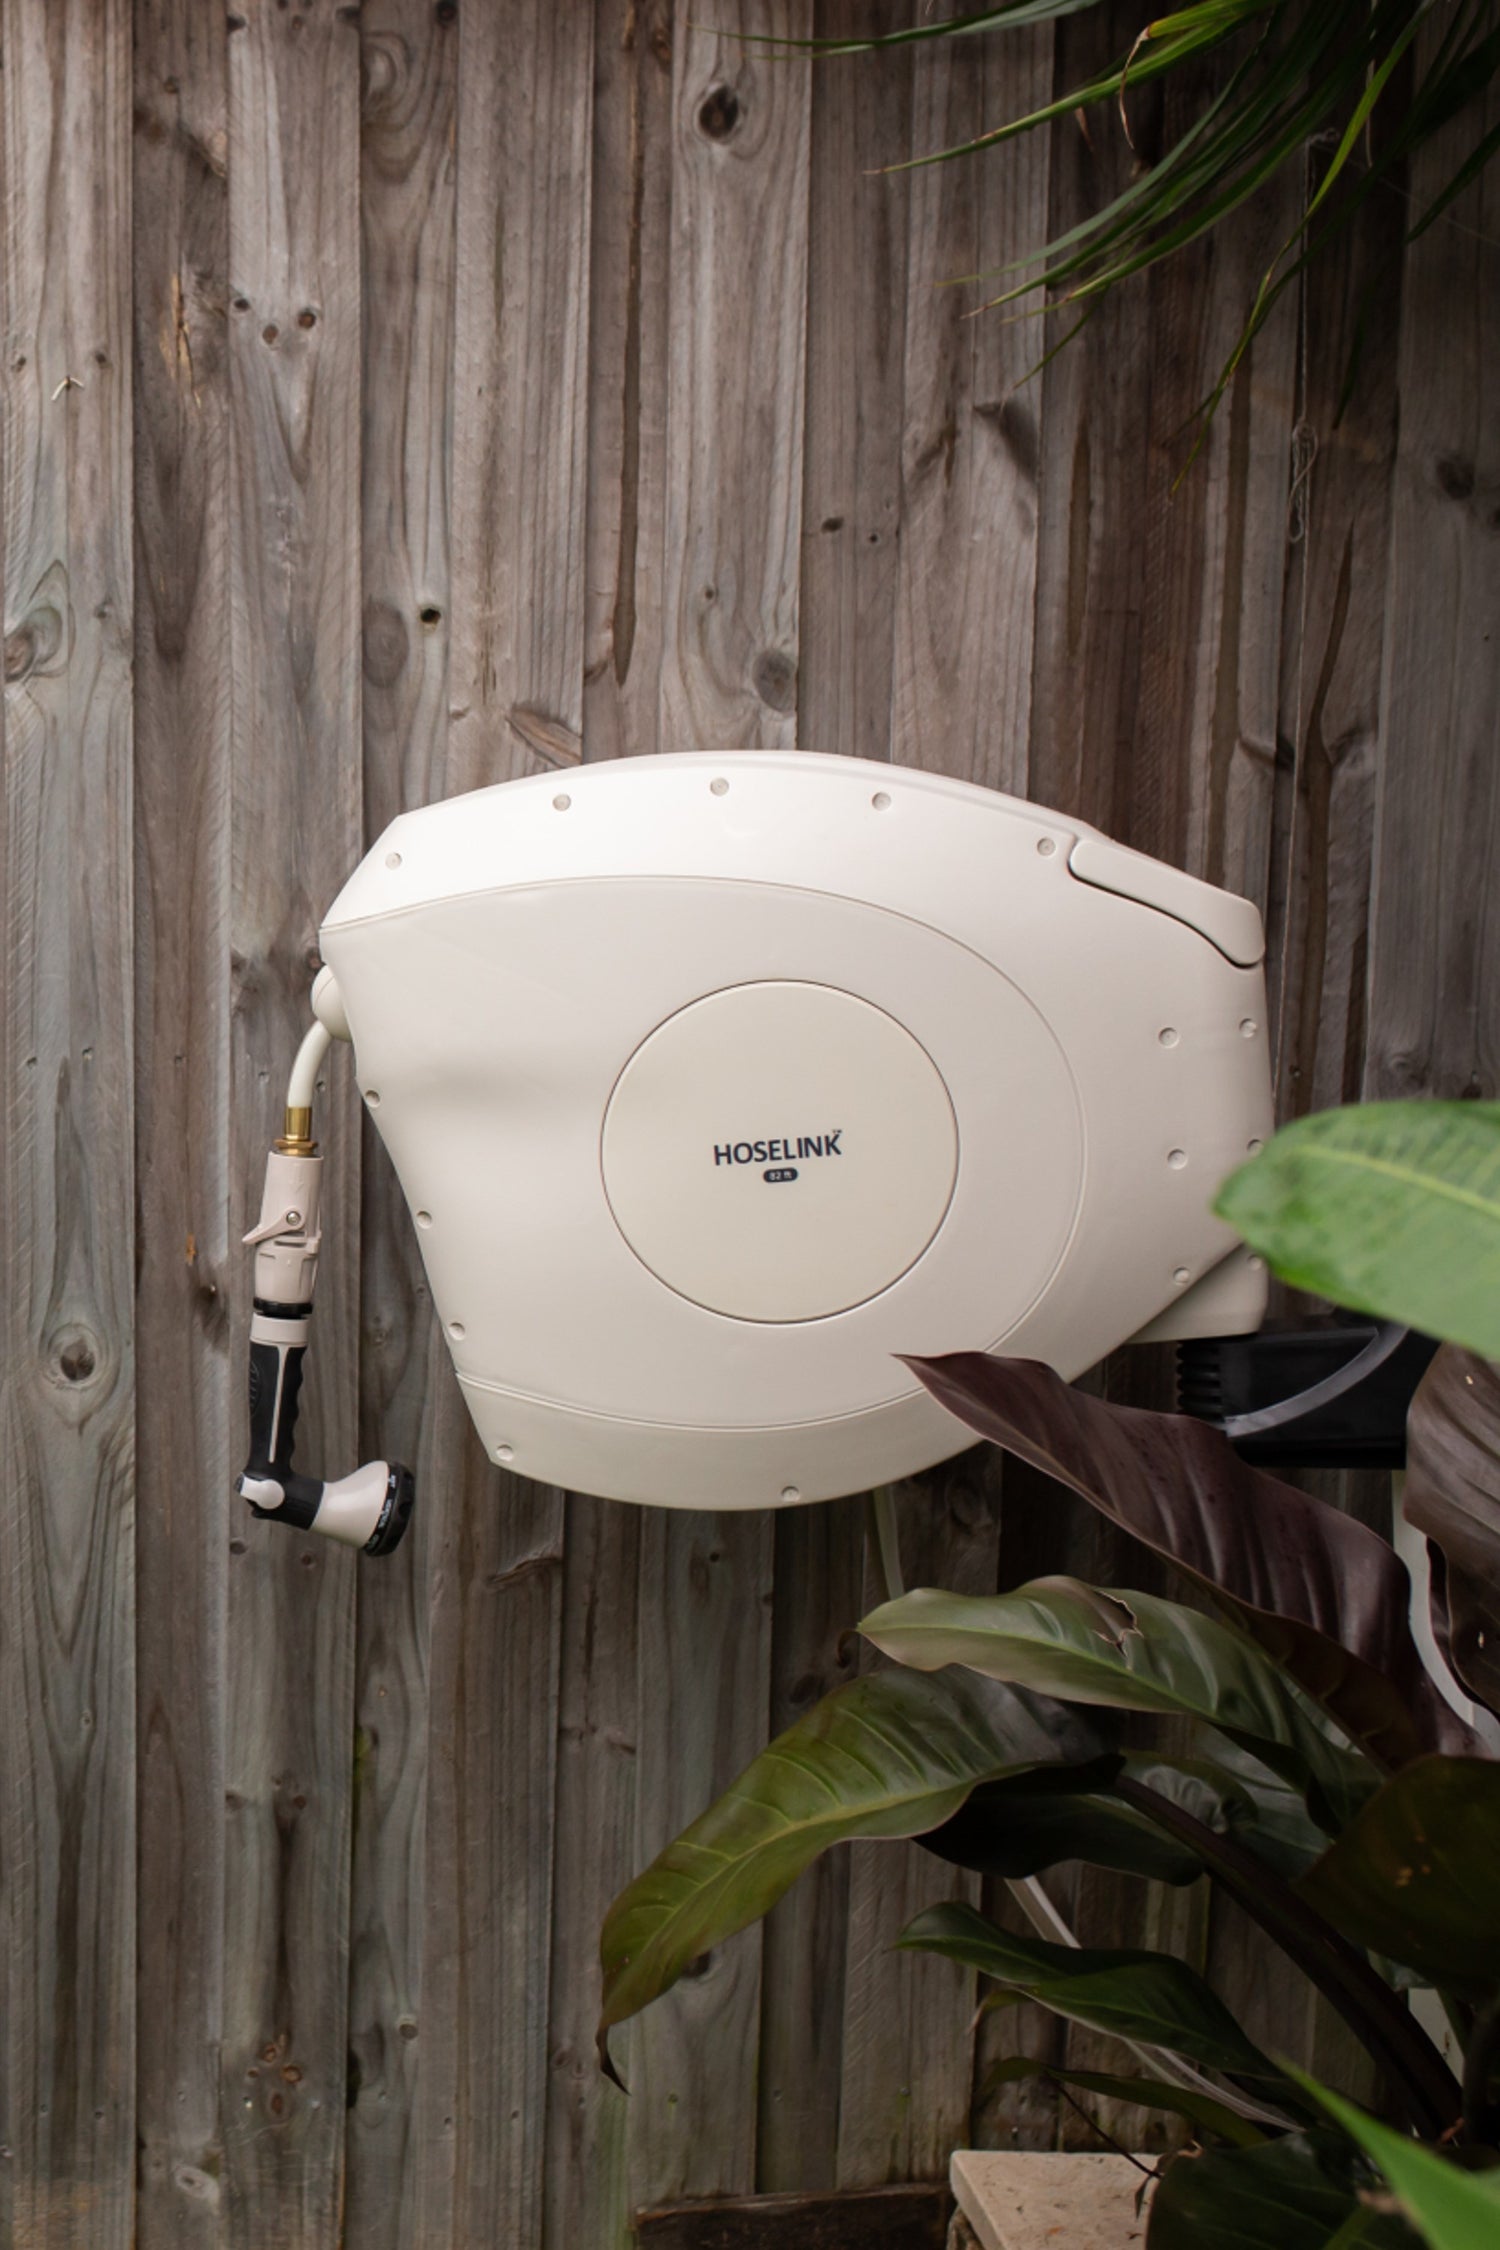
Consistent watering is key to healthy, abundant blooms. Deep, infrequent watering is better than shallow, daily watering because it encourages strong root systems. Make your daily watering nice and easy with a Retractable Hose Reel to ensure it feels like a joy tending to your plants and not a chore!
Many cut flowers are heavy feeders. Use a balanced organic fertilizer or compost tea every few weeks to support growth and flower production. Avoid high-nitrogen fertilizers, which promote leafy growth over blooms.


Step 6: Support and Maintenance
Some tall or top-heavy flowers, like certain varietals of snapdragons or dahlias, will need support to keep them from flopping. Use:
- Stakes and reusable plant ties
- Flower netting
- Tomato cages (for bushier varieties)
Deadhead (remove spent blooms) regularly to encourage continuous flowering. Watch for pests like aphids or fungal issues, and address problems early with natural remedies when possible.
Step 7: Harvesting Flowers for the Vase
The timing of your cut makes all the difference in how long flowers last in the vase.
Tips for harvesting:
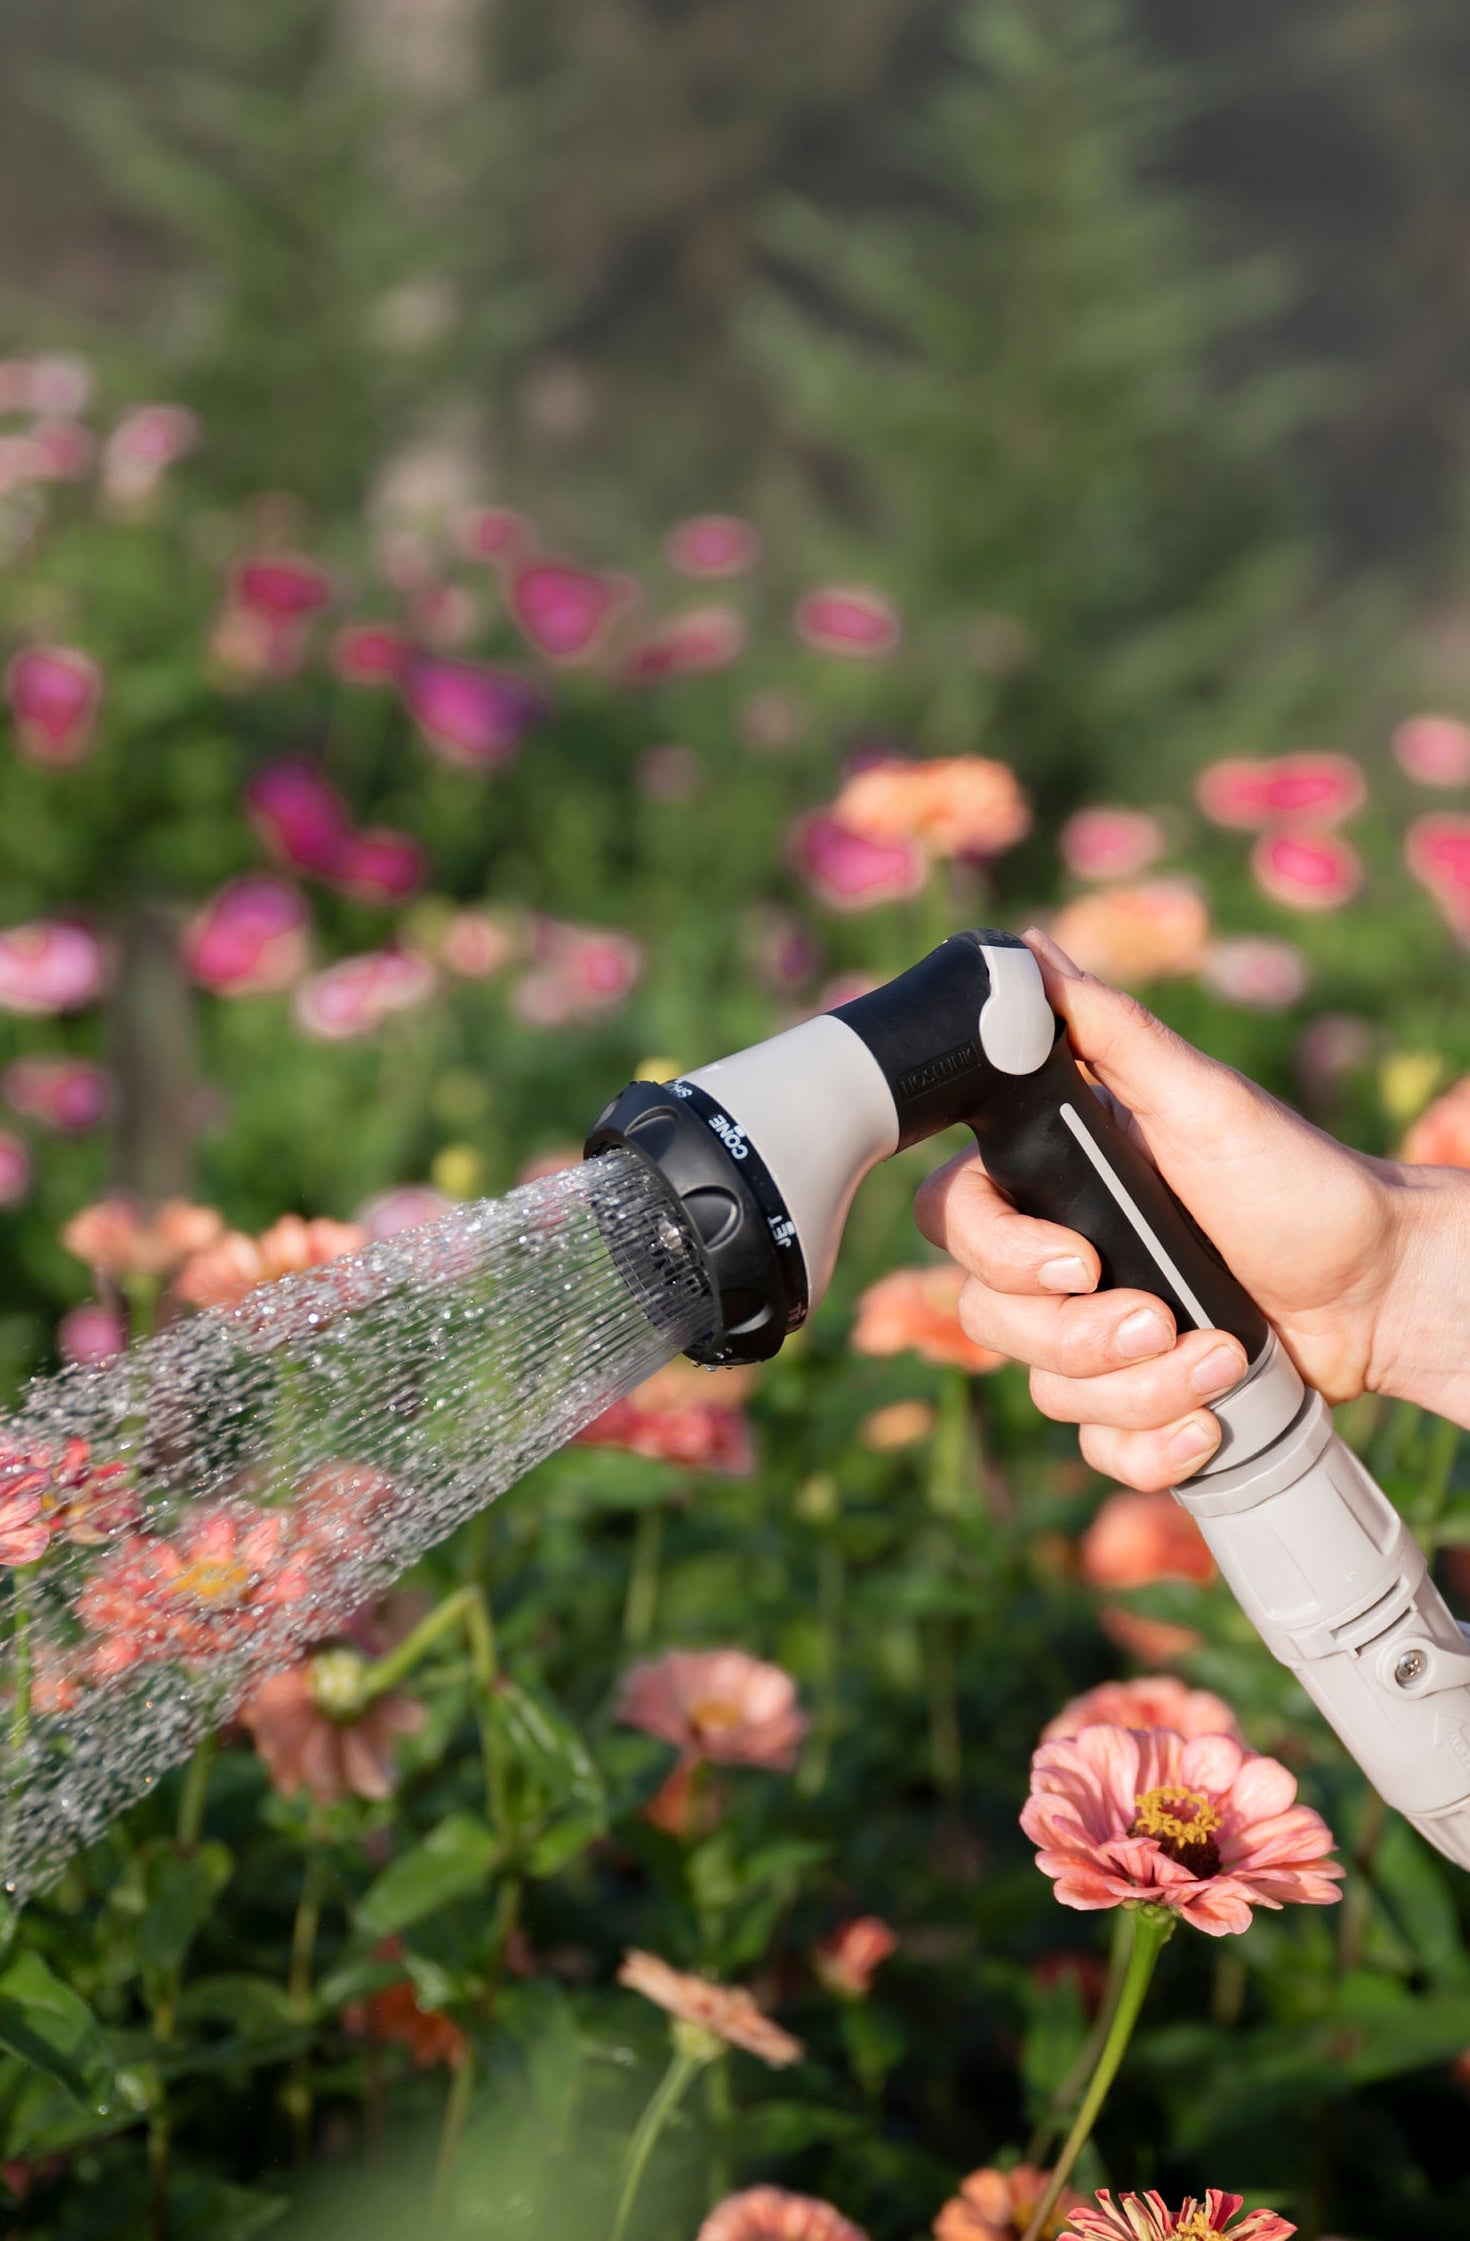
- Cut in the early morning or late evening when temperatures are cooler.
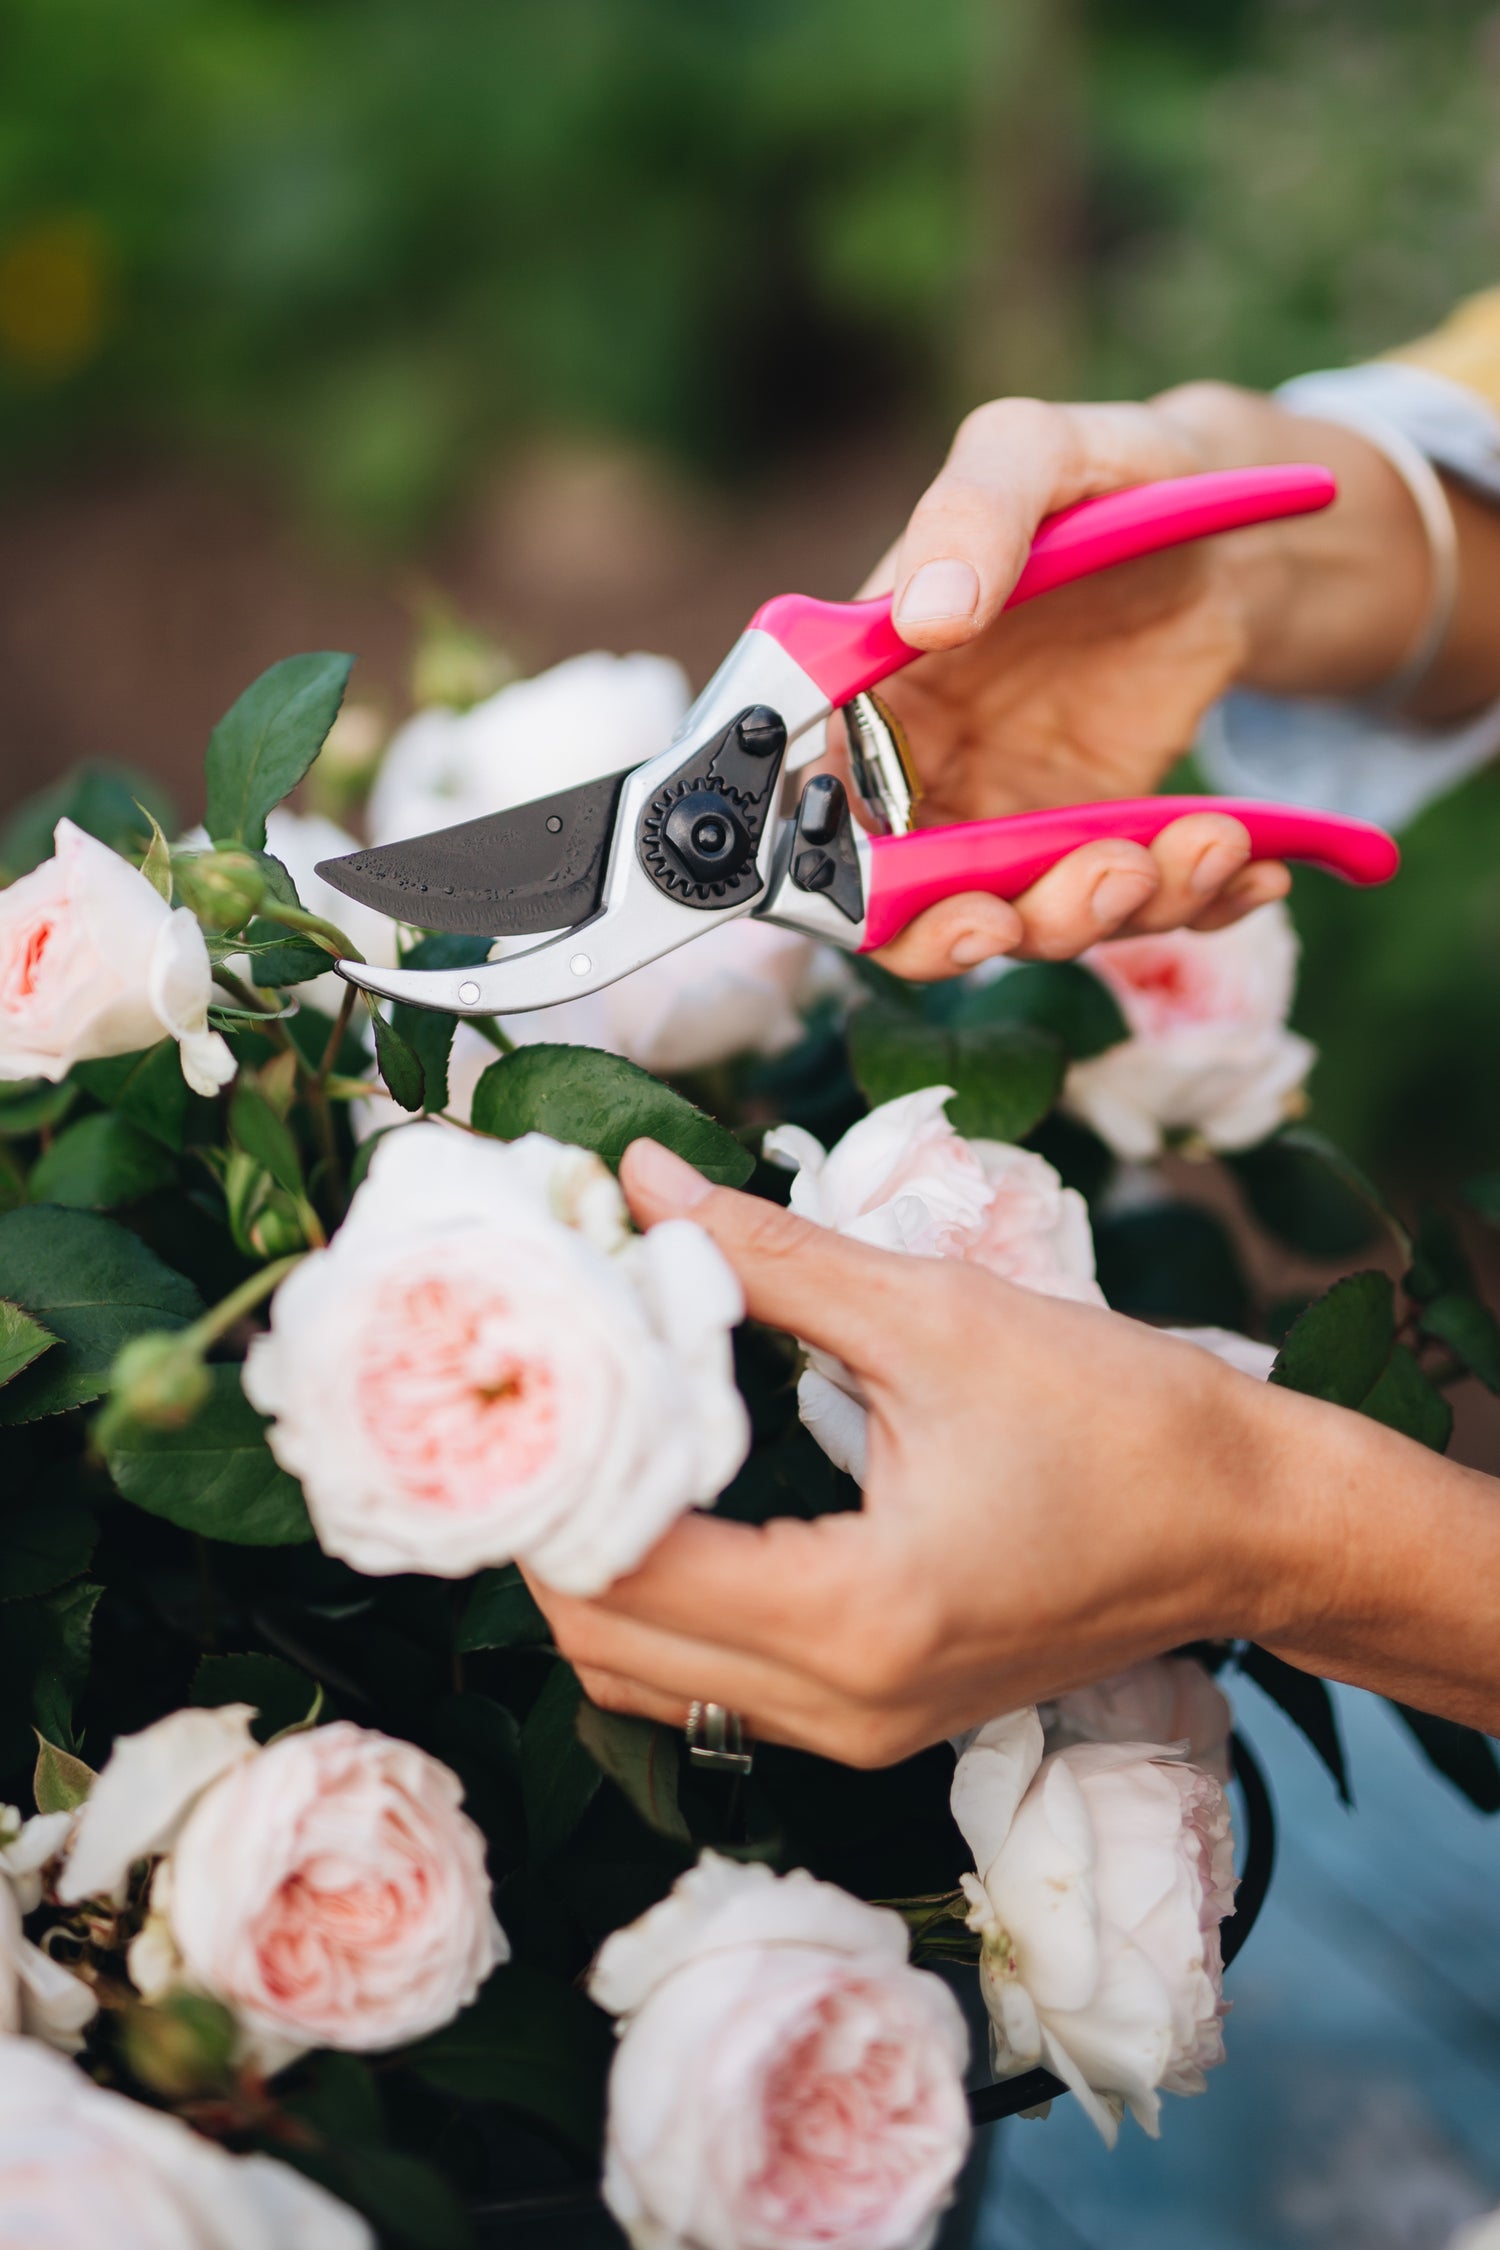
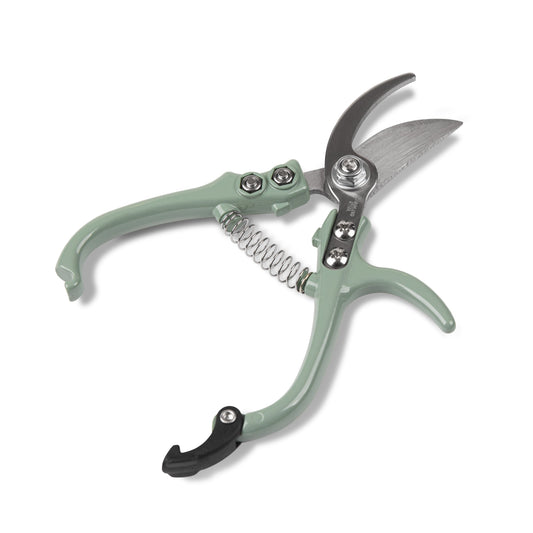
- Use clean, sharp snippers or scissors
- Cut stems at a 45° angle to allow for better water uptake.
- Immediately place flowers into a bucket of cool water in the shade.
Each flower has a preferred cutting stage. For example:
- Zinnias: When petals are open and stems are stiff.
- Snapdragons: When the bottom third of the flowers are open.
- Sunflowers: Just before the petals fully unfurl.
Remove any leaves that will be below the waterline to prevent bacteria growth.

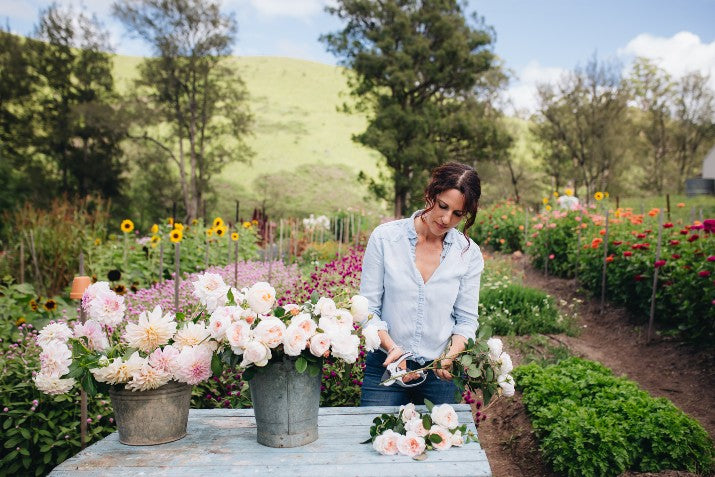
Step 8: Arranging and Enjoying
Once you’ve harvested your blooms, it’s time to enjoy them! Here are a few tips to make your arrangements last:
- Use a clean vase and change the water every 2–3 days.
- Recut stems each time you change the water.
- Add a floral preservative or a homemade mix (like a little sugar, vinegar, and bleach) to the vase.
- Keep arrangements out of direct sunlight and away from ripening fruit (which emits ethylene gas and shortens vase life).
Don’t be afraid to get creative with your arrangements — mix colors, textures, and heights. Even a few stems in a small bud vase can brighten up a space.
Tips for Success
- Keep a journal. Track what you planted, when it bloomed, and how it performed.
- Be bold. Try a few new varieties each year to discover your favorites.
- Grow what you love. Focus on flowers that make you smile — whether they’re soft pastels or bold brights.
Final Thoughts
Growing a cut flower garden is an act of joy — it connects you with the seasons, adds beauty to your space, and allows you to share nature’s bounty with friends and family. Whether you’re tucking a few blooms into a mason jar or creating lush bouquets, the rewards are endless.
Ready to grow your own cut flower paradise?
Explore Hoselink’s full range of garden tools, watering solutions, and accessories to help your flowers thrive from seed to centerpiece.