This blog was written by Amanda Nadeau, if you'd like to find her on socials, you can find her as @theeverhopefulgardener.
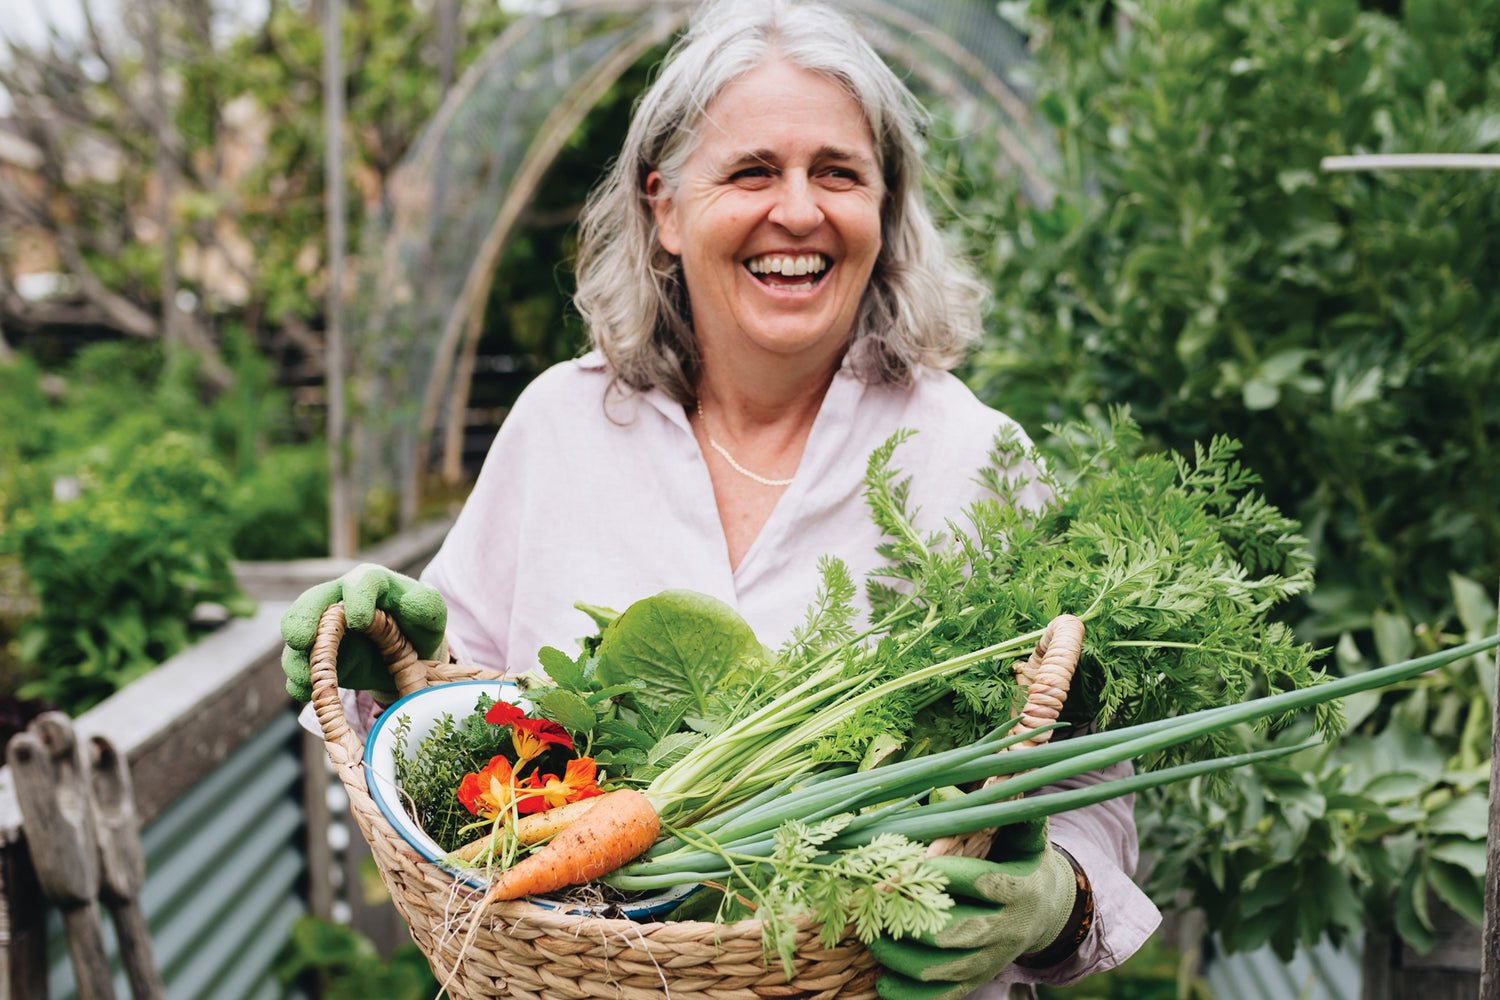
Have you dreamed of creating a productive and beautiful garden? Starting your plants from seed can be a rewarding part of your gardening journey, but with all the information available, it can also feel overwhelming.
The truth about seed starting is that it is neither easy nor complicated, and in fact, the truth lies somewhere in between. Can it be over-complicated or over-simplified? Yes, however this article will provide a clear blueprint for seed starting success and enjoyment.
Why start from seed?

Many gardeners will claim that seed starting saves money, but the truth is more nuanced.
Seed starting can save you money, but only if you stick with it for several years to see the economics pay off. If you decide seed starting is not for you (and that’s ok) you may have purchased hundreds of dollars worth of equipment you will no longer use.
To put it in perspective:
- The average cost of a vegetable seedling at a big box store is around $5.
- For the same price, you can often buy a package of seeds and grow 10x as many
That said, starting seeds does come with additional costs:
- Soil
- Containers
- Seeds
- Lights; all of which cost money.
So while it isn't always cheaper upfront, there are other compelling reasons to start from seed.
Control & Variety
One compelling reason to start your own seeds is control.
You control:
- What is sprayed or more importantly NOT sprayed on your plants
- What soil medium the plants are grown in
- Every aspect of their care from day one
And finally, when you start from seed, your options on the varieties you can grow are exponentially greater than the plant starts you can find in stores.
Seed Starting Supplies:
Seeds:
Seeds can be purchased:
- Online
- Gardening section of big box stores
- Through your local seed libraries
Seed libraries are growing in number and you can find if you have one near you by googling “seed libraries near me.”
Growing from seed allows you to try varieties that are unusual and fun, but remember not all varieties grow well in all areas. Picking varieties best suited to your growing conditions/region increases your chance for a successful harvest.

Soil:
The soil medium you use to start your seeds is important, and this is one area where cutting corners can deliver poor results.
Seed starting mixes are readily available, but can be more expensive than potting mix. The difference between a seed starting specific mix and a potting mix is typically how fine the mix is, meaning that a seed starting mix does not contain large pieces of material that would make it difficult for small seeds and root systems to get started.
You can purchase a good quality, organic potting mix and sift it to make your own seed starting mix. A regular kitchen colander works great for sifting (saving the need for a soil sifter).

Containers:
You will need something to contain the soil and growing seedling. You do not need expensive seed starting trays and pots.
You can repurpose:
- Food takeout containers
- Gogurt containers
- Fruit clamshells
- Solo cups
Just make sure they have drainage holes (you can poke holes in the bottoms with an ice pick or use a glue gun to melt holes in the bottom).

Soil Blockers
Another option that eliminates the need for pots completely is a soil blocker.
Soil blockers make compact cubes of soil that can stand alone. You will still need a tray of sorts for the blocks to rest on and for watering, but you can use takeout container lids, tupperware you have at home, cafeteria trays, 1020 trays and more.
Soil blockers are an investment and these tools are expensive initially but provide several benefits.
They:
- Create healthy roots through air pruning (when roots are exposed to air at the edges of the blocks, they stop growing out and start branching)
- Reduce transplant shock
- Save space
- Make planting out easier
- Added bonus: no cleaning plastic pots and containers!
Location:
You don’t have to use a shelving system for your seed starting, but having a dedicated location that will not be disturbed by:
- Pets
- Children
- Other curious household members
A shelving system works well for attaching lighting and using extra equipment like heat mats. Additionally, keeping your seed starting area in a place that allows you to see it regularly will serve as a reminder to check on them frequently.

Light source:
You may have read that you can use a sunny window as your light source for seed starting, but this is a recipe for leggy seedlings.
Leggy seedlings are ones that are too far from a light source and become weakened as they stretch towards light.
There is no coming back from leggy seedlings and you will need to start over. One notable exception to this is tomatoes, as they can be repotted up to their leaves.
To avoid leggy seedlings, a good light source is important.
You don’t need fancy or expensive “grow lights” marketed for seed starting - regular LED shop lights from a big box store are economical and work well for this purpose.

Heat Mats:
Whether or not you need heat mats is going to depend on where you are starting your seeds.
A garage or basement will likely be much cooler than if you start them in a guest bedroom or dining room.
If you are starting them inside your house you likely won’t need a heat mat.
If you are starting them somewhere that runs colder than your indoor thermostat, a heat mat may be a good investment, but again you don’t need a more expensive one with temperature control.
Once the seeds germinate, they can come off the heat mat. Leaving the seedlings on a heat mat after germination can lead to the soil drying out quickly and requires more frequent watering.
Labels:
Many seedlings look very similar and a labeling system is key. You do not need to buy labels, and can instead use painters tape and a permanent marker.

Watering tools:
Helpful tools inclue:
- A spray bottle to mist the top of the soil until the seeds germinate
- A gooseneck watering can for bottom watering makes things easy
Planting Your Seeds
Timing is everything
Check the seed packet for specific instructions.
Generally, seeds are started indoors 6-8 weeks before the last frost date.
For most of the United States, last frost falls between late February and early April.
You can find your average last frost date by searching “average last frost date” and your zip code. If a seed packet says to start the seeds 4 weeks before your last frost date, you would back up 4 weeks on the calendar from your last frost date.
Direct Sow vs. Indoor Start
Not all seeds are best started indoors. Some vegetables and flowers prefer to be direct sown which means to plant the seed directly in the garden.
Examples of seeds that are better direct sown are:
- Beans
- Peas
- Root vegetables like carrots
- Vining plants (unless they require a long growing season and need a head start indoors)
Planting Basics
1. Fill your chosen containers with your seed starting mix or your sifted potting mix. You can either add water to your soil medium before filling containers or you can water the containers after filling and top up with more soil if the soil level compacts after watering. You want the soil to be evenly damp and not waterlogged.
2. Follow the planting depth instructions on the seed packet. A good rule of thumb is to plant the seeds at a depth equal to two times their width, meaning large seeds will be planted deeper than smaller seeds. Pay attention to any instructions on the seed packet about whether or not the seed needs light to germinate. If it does, just gently press the seed into the soil surface and do not cover with soil.
3. The last step is to label your seedlings however you choose. Adding the date can be helpful for taking notes for next year in terms of documenting time until germination and planting out.

Caring for your seedlings
Humidity:
Until your seeds germinate, you need to keep the surface of the soil moist but not waterlogged, and a humidity dome helps to retain moisture.
You can use plastic wrap or takeout lids in place of humidity domes if you prefer not to purchase one.
Light:
When your seeds germinate, it is time for the humidity dome to come off and to place the seedlings under lights.
If you are using regular LED or fluorescent shop lights, make sure the seedlings are no further than 1-2 inches from the light.
If you are using a full spectrum grow light, make sure to read the instructions for the amount of space to leave between seedlings and the light.
Keep the lights on 16 hours a day and off 8 hours (a simple outlet timer works great).
As the seedlings grow, you will need to adjust the light height, and knowing this will help you decide what type of lights to get and how to attach them to your shelves or seed starting set up.

Watering:
A seed needs water AND air to germinate, so make sure the soil does not become completely saturated.
To help with this, let the soil dry out in between waterings.
Once the seeds have germinated, switch to bottom watering.
Bottom watering is adding water to the tray the seed containers or soil blocks are sitting in and letting the soil and roots take up water from the bottom.
Again, let the soil dry out in between waterings to avoid fungus and waterlogging your seedlings.

Fertilization:
When a seed germinates, it has all the nutrition it needs to develop the first set of leaves.
As the seedling grows a second set of leaves (known as the first set of true leaves) it may need added nutrition depending on the soil mix you are using.
If your soil mix has added nutrition (check the ingredients on the back of the bag) you do not need to fertilize.
If the mix does not have any nutrition, your seedlings will benefit from a low NPK (Nitrogen, Phosphorus, Potassium) liquid fertilizer.
You can dilute fish and seaweed emulsion or mix insect frass with water and bottom water your seedlings to give them a feeding.
Seedlings that are going to be growing indoors for more than a few weeks will benefit from a light fertilizing every few weeks.
Planting out
Hardening Off
Once your average last frost date has passed, it is generally safe to plant out your seedlings, but checking the 10 day forecast is always a good idea.
However, there is one more step before you can plant your seedlings in your garden and that is to gradually get them acclimated to outdoor conditions.
Your seedlings have lived a cush life so far inside your warm and cozy house. Now they are headed for sun, wind, and cooler temps. It is important to let them gradually get accustomed to these things instead of all at once.

Hardening Off Schedule
- Take your seedlings out a few hours each day and gradually increase their time outside.
- Start in the shade on day one and move into dappled sun on day two and three
- Into full sun over the course of 4-5 days
- After a week of spending more and more time outside and in the sun, your seedlings will be ready to be planted in your garden.
Keeping them in a sheltered spot from wind will let them slowly get used to moving in the breeze. It is also smart to have them covered so that if a pop-up rain shower appears, your seedlings won’t be drenched.
Final Thoughts
Seed starting can be very gratifying and enjoyable.
Keep expectations reasonable when starting out and know that even seasoned gardeners experience seed starting disappointments.
You will learn as you go and figure out what works best for you.
Good luck!
This blog was written by Amanda Nadeau, if you'd like to find her on socials, you can find her as @theeverhopefulgardener.